Installing the image to your MicroSD card
Getting the FRC Raspberry PI image
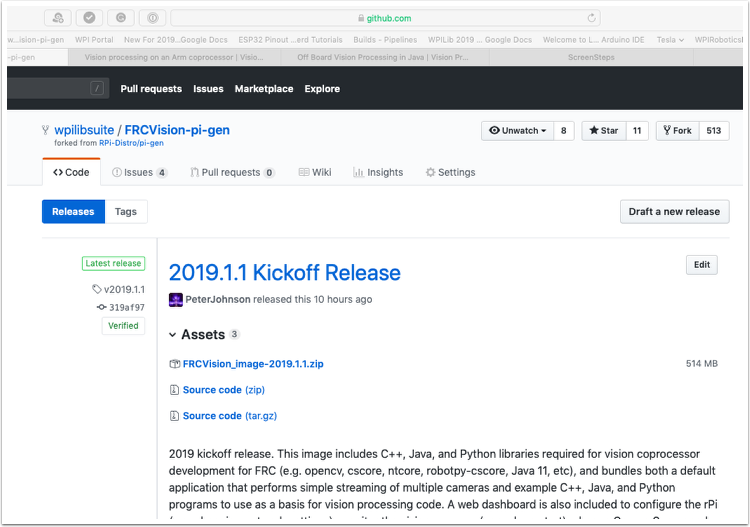
The image is stored on the GitHub release page for the WPILibPi repository.
In addition to the instructions on this page, see the documentation on the GitHub web page (below).
The image is fairly large so have a fast internet connection when downloading it. Always use the most recent release from the top of the list of releases.

Copy the image to your MicroSD card
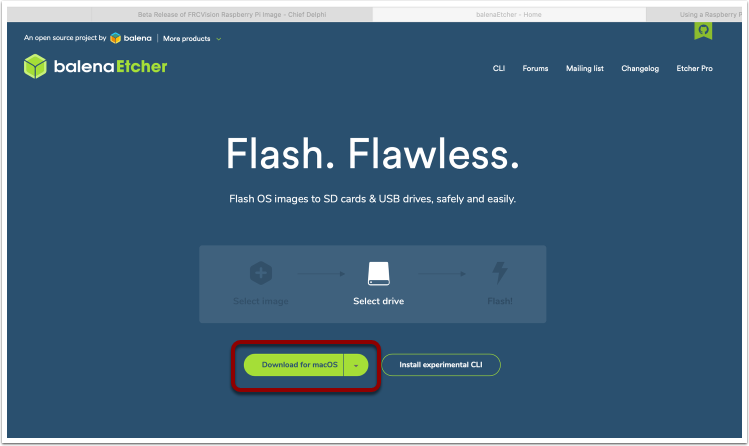
Download and install Etcher to image the micro SD card. The micro SD card needs to be at least 8 GB. A micro SD to USB dongle works well for writing to micro SD cards.

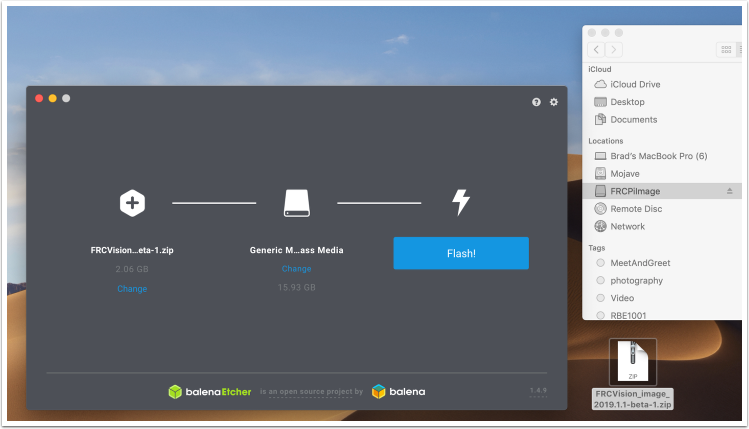
Flash the MicroSD card with the image using Etcher by selecting the zip file as the source, your SD card as the destination and click ”Flash“. Expect the process to take about 3 minutes on a fairly fast laptop.

Testing the Raspberry PI
Put the micro SD card in a rPi 3 and apply power.
Connect the rPi 3 ethernet to a LAN or PC. Open a web browser and connect to
http://wpilibpi.local/to open the web dashboard. On the first bootup the filesystem will be writable, but later bootups will default to read only, so it’s necessary to click the ”writable“ button to make changes.
Logging into the Raspberry PI
Most tasks with the rPi can be done from the web console interface. Sometimes for advanced use such as program development on the rPi it is necessary to log in. To log in, use the default Raspberry PI password:
Username: pi
 Password: raspberry