Glass Widgets
Specialized widgets are available for certain types that exist in robot code. These include objects that are manually sent over NetworkTables such as SendableChooser instances, or hardware that is automatically sent over LiveWindow.
Note
Widget support in Glass is still in its infancy – therefore, there are only a handful of widgets available. This list will grow as development work continues.
Note
A widget can be renamed by right-clicking on its header and specifying a new name.
Hardware Widgets
Widgets for specific hardware (such as motor controllers) are usually available via LiveWindow. These can be accessed by selecting the NetworkTables menu option, clicking on LiveWindow and choosing the desired widget.
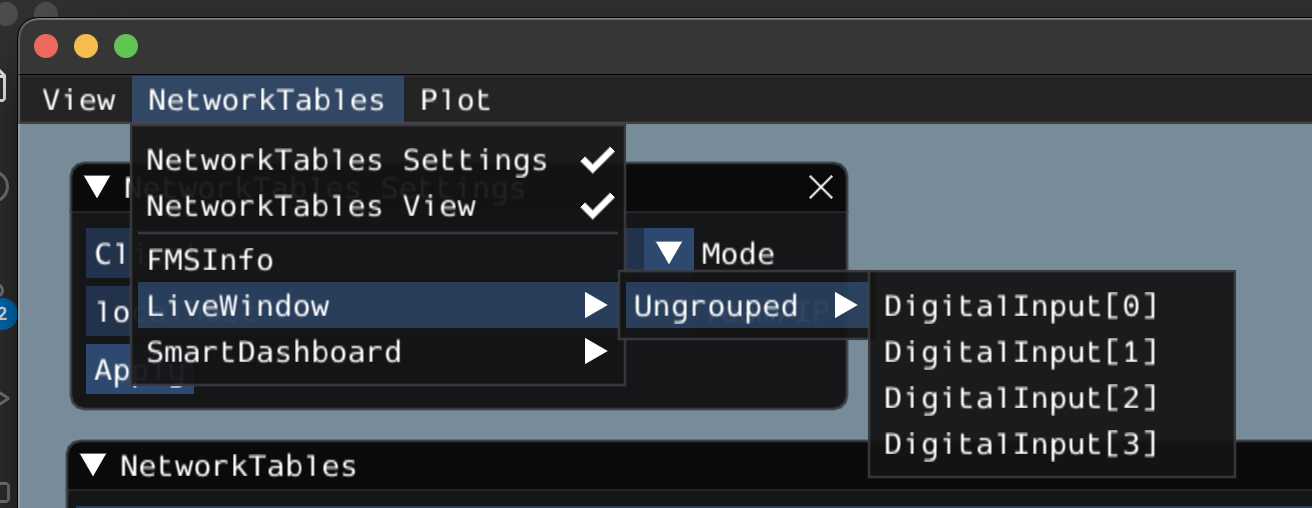
The list of hardware (sent over LiveWindow automatically) that has widgets is below:
DigitalInput
DigitalOutput
SpeedController
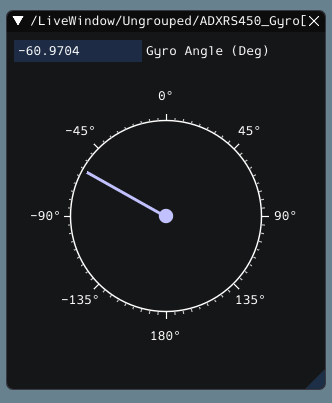
Gyro
Here is an example of the widget for gyroscopes:
Sendable Chooser Widget
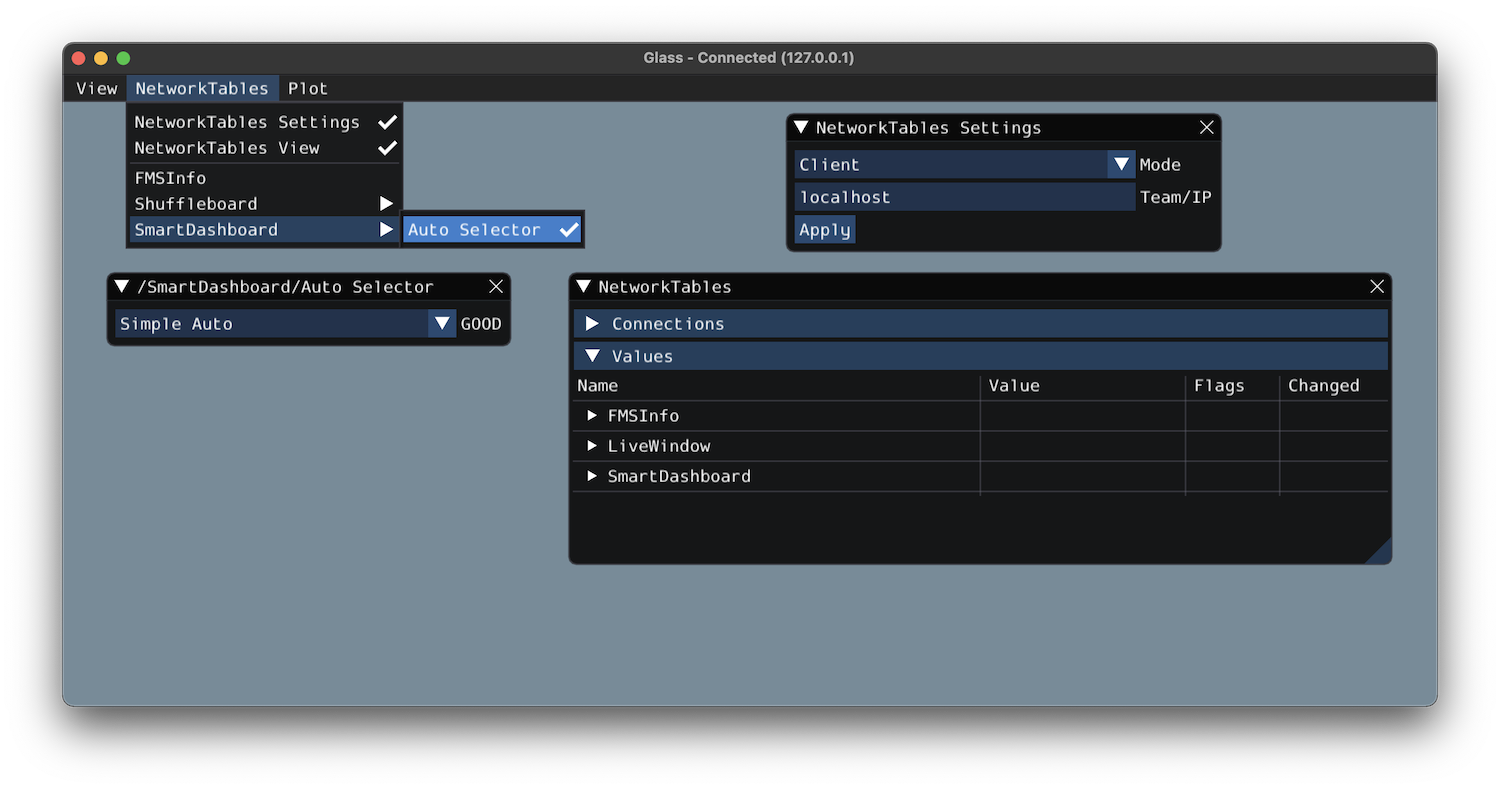
The Sendable Chooser widget represents a SendableChooser instance from robot code. It is often used to select autonomous modes. Like other dashboards, your SendableChooser instance simply needs to be sent using a NetworkTables API. The simplest is to use something like SmartDashboard:
SmartDashboard.putData("Auto Selector", m_selector);
frc::SmartDashboard::PutData("Auto Selector", &m_selector);
from wpilib import SmartDashboard

SmartDashboard.putData("Auto Selector", selector)
Note
For more information on creating a SendableChooser, please see this document.
The Sendable Chooser widget will appear in the NetworkTables menu and underneath the main table name that the instance was sent over. From the example above, the main table name would be SmartDashboard.
PID Controller Widget
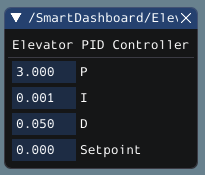
The PID Controller widget allows you to quickly tune PID values for a certain controller. A PIDController instance must be sent using a NetworkTables API. The simplest is to use something like SmartDashboard:
SmartDashboard.putData("Elevator PID Controller", m_elevatorPIDController);
frc::SmartDashboard::PutData("Elevator PID Controller", &m_elevatorPIDController);
from wpilib import SmartDashboard

SmartDashboard.putData("Elevator PID Controller", elevatorPIDController)
This allows you to quickly tune P, I, and D values for various setpoints.
FMSInfo Widget
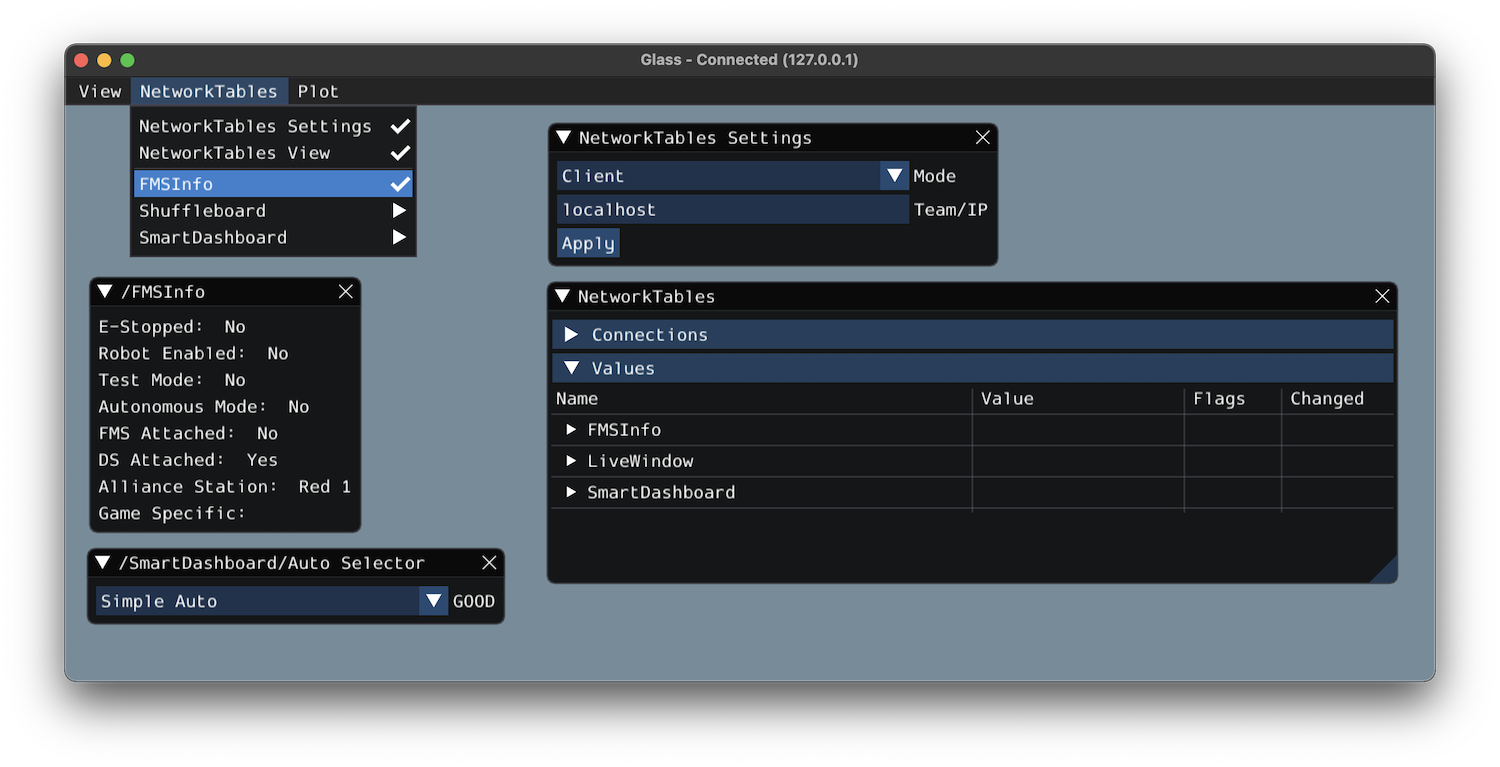
The FMSInfo widget is created by default when Glass connects to a robot. This widget displays basic information about the robot’s enabled state, whether a Driver Station is connected, whether an FMS is connected, the game-specific data, etc. It can be viewed by selecting the NetworkTables menu item and clicking on FMSInfo.
