El widget Field2d
Glass permite mostrar la posición de su robot en el campo usando el widget Field2d. Debe crearse una instancia de la clase Field2d, enviarse a través de NetworkTables y actualizarse periódicamente con la última pose de robot en su código de robot.
Enviando la pose del robot desde el código de usuario
Para enviar la posición de tu robot (normalmente obtenida por odometría o un estimador de poses), se debe crear una instancia de Campo2d en código de robot y enviarla a través de NetworkTables. La instancia debe ser actualizada periódicamente con la última pose del robot.
private final Field2d m_field = new Field2d();

// Do this in either robot or subsystem init
SmartDashboard.putData("Field", m_field);

// Do this in either robot periodic or subsystem periodic
m_field.setRobotPose(m_odometry.getPoseMeters());
#include <frc/smartdashboard/Field2d.h>
#include <frc/smartdashboard/SmartDashboard.h>

frc::Field2d m_field;

// Do this in either robot or subsystem init
frc::SmartDashboard::PutData("Field", &m_field);

// Do this in either robot periodic or subsystem periodic
m_field.SetRobotPose(m_odometry.GetPose());
from wpilib import SmartDashboard, Field2d

self.field = Field2d()

# Do this in either robot or subsystem init
SmartDashboard.putData("Field", self.field)

# Do this in either robot periodic or subsystem periodic
self.field.setRobotPose(self.odometry.getPose())
Nota
The Field2d instance can also be sent using a lower-level NetworkTables API or using the Shuffleboard API. In this case, the SmartDashboard API was used, meaning that the Field2d widget will appear under the SmartDashboard table name.
Sending Trajectories to Field2d
Visualizing your trajectory is a great debugging step for verifying that your trajectories are created as intended. Trajectories can be easily visualized in Field2d using the setTrajectory()/SetTrajectory() functions.
44  public void robotInit() {
45    // Create the trajectory to follow in autonomous. It is best to initialize
46    // trajectories here to avoid wasting time in autonomous.
47    m_trajectory =
48        TrajectoryGenerator.generateTrajectory(
49            new Pose2d(0, 0, Rotation2d.fromDegrees(0)),
50            List.of(new Translation2d(1, 1), new Translation2d(2, -1)),
51            new Pose2d(3, 0, Rotation2d.fromDegrees(0)),
52            new TrajectoryConfig(Units.feetToMeters(3.0), Units.feetToMeters(3.0)));
53
54    // Create and push Field2d to SmartDashboard.
55    m_field = new Field2d();
56    SmartDashboard.putData(m_field);
57
58    // Push the trajectory to Field2d.
59    m_field.getObject("traj").setTrajectory(m_trajectory);
60  }
18  void AutonomousInit() override {
19    // Start the timer.
20    m_timer.Start();
21
22    // Send Field2d to SmartDashboard.
23    frc::SmartDashboard::PutData(&m_field);
24
25    // Reset the drivetrain's odometry to the starting pose of the trajectory.
26    m_drive.ResetOdometry(m_trajectory.InitialPose());
27
28    // Send our generated trajectory to Field2d.
29    m_field.GetObject("traj")->SetTrajectory(m_trajectory);
30  }
    def robotInit(self):

        # An example trajectory to follow during the autonomous period.
        self.trajectory = wpimath.trajectory.TrajectoryGenerator.generateTrajectory(
            wpimath.geometry.Pose2d(0, 0, wpimath.geometry.Rotation2d.fromDegrees(0)),
            [
                wpimath.geometry.Translation2d(1, 1),
                wpimath.geometry.Translation2d(2, -1),
            ],
            wpimath.geometry.Pose2d(3, 0, wpimath.geometry.Rotation2d.fromDegrees(0)),
            wpimath.trajectory.TrajectoryConfig(
                wpimath.units.feetToMeters(3.0), wpimath.units.feetToMeters(3.0)
            ),
        )

        # Create Field2d for robot and trajectory visualizations.
        self.field = wpilib.Field2d()

        # Create and push Field2d to SmartDashboard.
        wpilib.SmartDashboard.putData(self.field)

        # Push the trajectory to Field2d.
        self.field.getObject("traj").setTrajectory(self.trajectory)
Viewing Trajectories with Glass
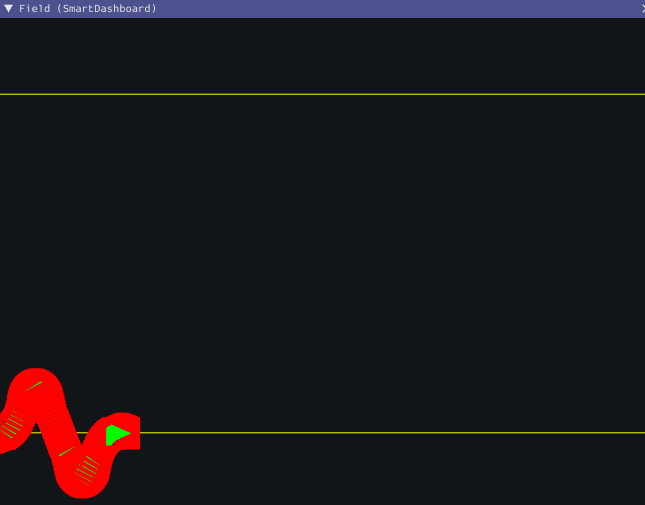
The sent trajectory can be viewed with Glass through the dropdown NetworkTables -> SmartDashboard -> Field2d.
Ver la postura del robot en glass
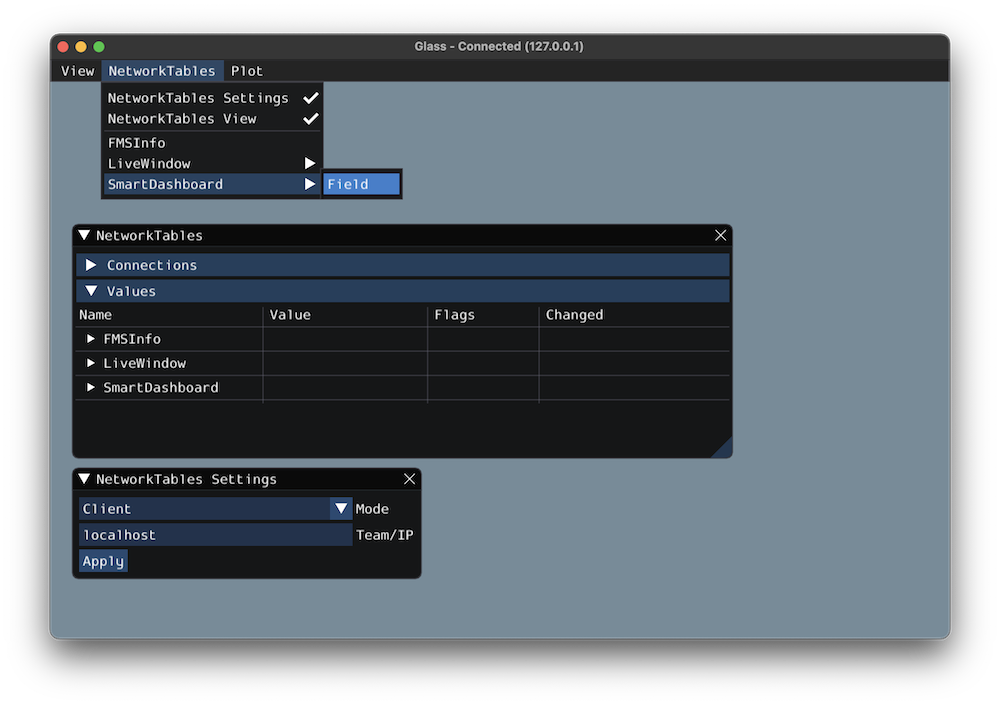
Después de enviar la instancia Field2d a través de NetworkTables, el widget Field2d se puede agregar a Glass seleccionando NetworkTables en la barra de menú, eligiendo el nombre de la tabla a la que se envió la instancia, y luego haciendo clic en el botón Campo.
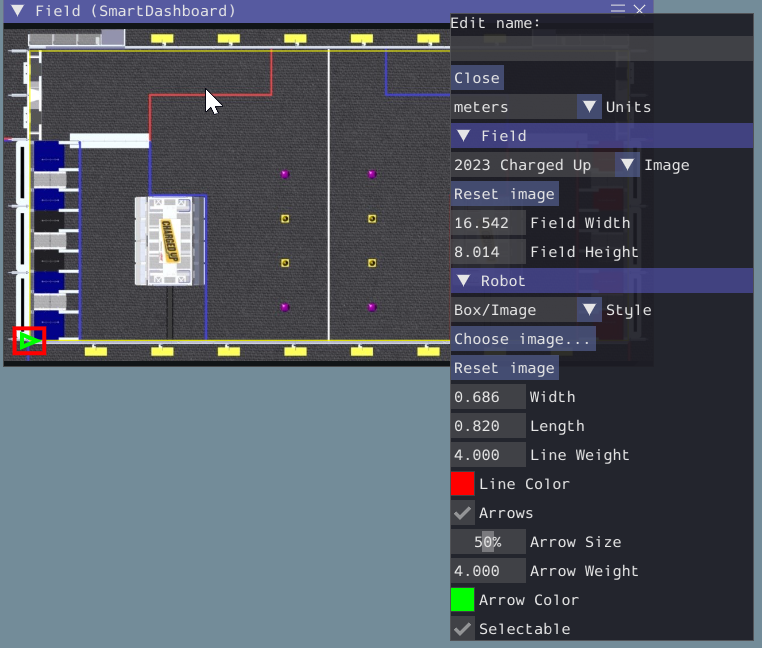
Una vez que aparece el widget, puede cambiar su tamaño y colocarlo en el espacio de trabajo de Glass como desee. Al hacer clic con el botón derecho en la parte superior del widget, podrá personalizar el nombre del widget, seleccionar una imagen de campo personalizada, seleccionar una imagen de robot personalizada y elegir las dimensiones del campo y el robot.
You can choose from an existing field layout using the Image drop-down. Or you can select a custom file by setting the Image to Custom and selecting Choose image…. You can choose to either select an image file or a PathWeaver JSON file as long as the image file is in the same directory. Choosing the JSON file will automatically import the correct location of the field in the image and the correct size of the field.
Nota
You can retrieve the latest field image and JSON files from here. This is the same image and JSON that are used when generating paths using PathWeaver.
Modifying Pose Style
Poses can be customized in a plethora of ways by right clicking on the Field2d menu bar. Examples of customization are: line width, line weight, style, arrow width, arrow weight, color, etc.
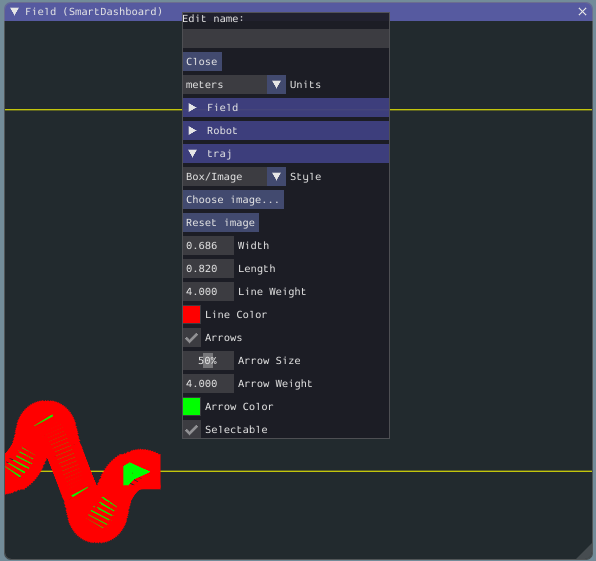
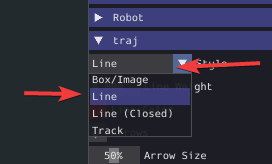
One usage of customizing the pose style is converting the previously shown traj pose object to a line, rather than a list of poses. Click on the Style dropdown box and select Line. You should notice an immediate change in how the trajectory looks.
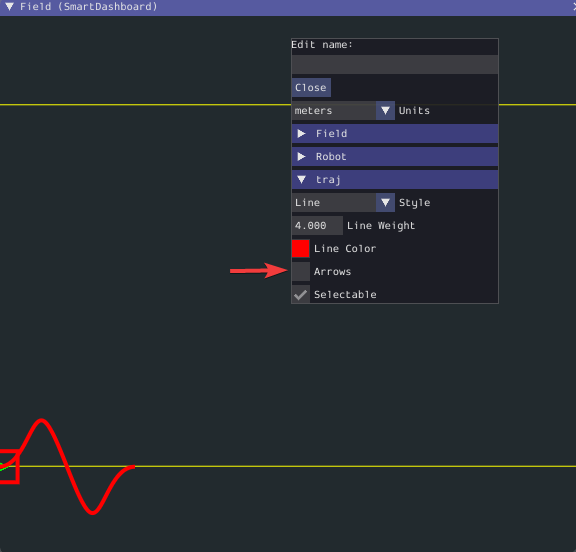
Now, uncheck the Arrows checkbox. This will cause our trajectory to look like a nice and fluid line!
Viewing Pose Data with AdvantageScope
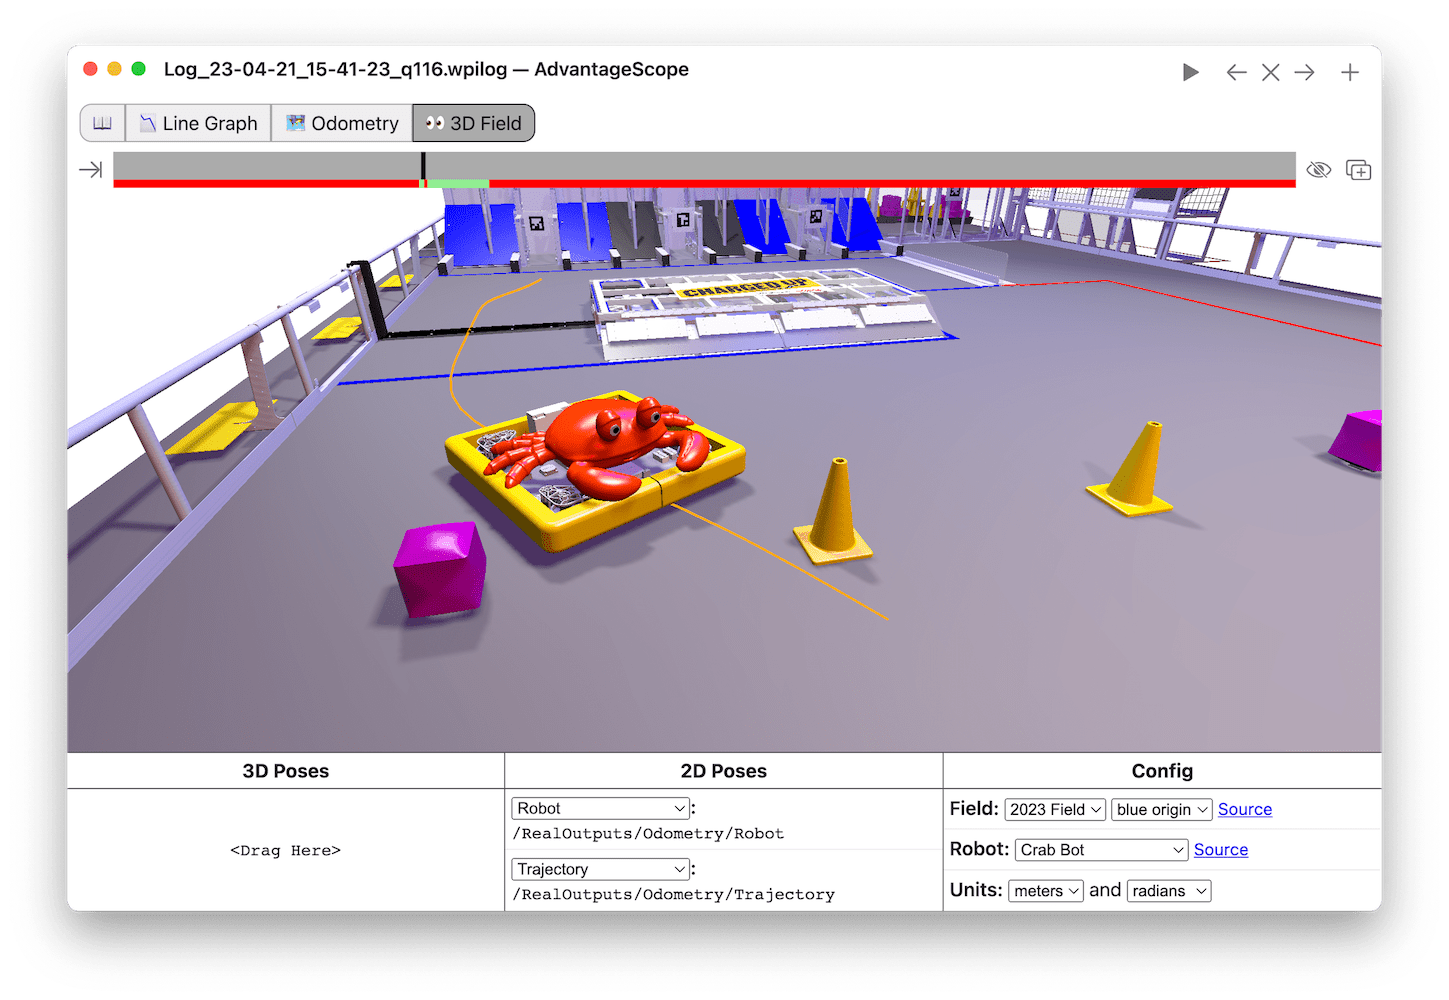
AdvantageScope is an alternative option for viewing pose data from a Field2d object, including data recorded to a log file using WPILib data logs. Both 2D and 3D visualizations are supported. See the documentation for the odometry and 3D field tabs for more details.
