使用智能仪表盘进行PID调整
PID(比例,积分,微分)是一种算法,利用根据传感器反馈指定电动机速度,以尽快达到设定值。例如,带有升降机移动到预定位置的机器人应尽可能快地移动到那里,然后停下来而不会产生过多的过冲而导致振荡。使PID控制器以这种方式运行称为“调整”。这个想法是要计算一个误差值,该误差值是机械反馈元件的当前值与所需(设定点)值之间的差。对于手臂,可能有一个电位计连接到模拟通道,该电位计提供的电压与手臂的位置成比例。期望值是针对手臂应移动到的位置而预先确定的电压,而当前值是针对手臂的实际位置的电压确定的。
使用 “LiveWindow” 查找设定值

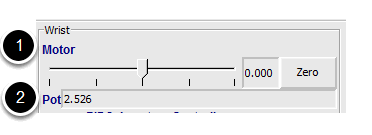
为每个带有反馈系统的机械结构创建一个PID子系统。 PID子系统包含执行器(电机)和反馈传感器(在这种情况下为电位计)。您可以使用“测试”模式显示子系统传感器和执行器。使用滑块手动将执行器调整到每个所需位置。注意每个所需位置的传感器值(2)。这些将成为PID控制器的设定值。
在 “LiveWindow” 中查看PID控制器

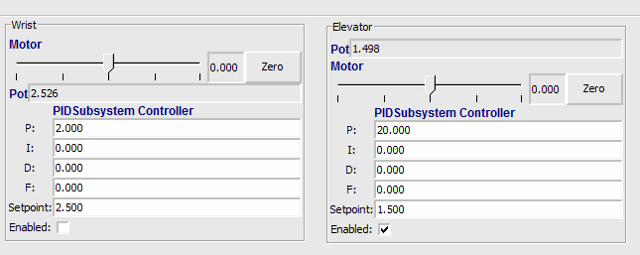
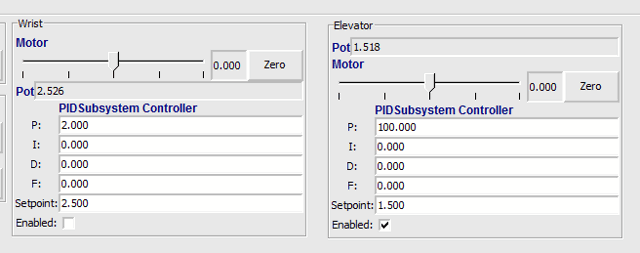
在测试模式下,PID子系统显示其在代码中设置的P,I和D参数。 P,I和D值将被应用于计算计算误差(P)的权重,随时间变化的误差之和(I)和误差的变化率(D)。这些项中的每一项都乘以权重,然后相加在一起即可得出电动机值。选择最佳的P,I和D值可能很困难,并且需要进行大量的实验。机械手的“测试”模式允许修改值,并观察机械结构的响应状况。
重要
The enable option does not affect the PIDController introduced in 2020, as the controller is updated every robot loop. See the example here on how to retain this functionality.
调整PID控制器

Tuning the PID controller can be difficult and there are many articles that describe techniques that can be used. It is best to start with the P value first. To try different values fill in a low number for P, enter a setpoint determined earlier in this document, and note how fast the mechanism responds. If it responds too slowly, perhaps never reaching the setpoint, increase P. If it responds too quickly, perhaps oscillating, reduce the P value. Repeat this process until you get a response that is as fast as possible without oscillation. It’s possible that having a P term is all that’s needed to achieve adequate control of your mechanism. Further information is located in the Tuning a Flywheel Velocity Controller document.
一旦确定了P,I和D值,就可以将它们写入程序中。你可以在 “RobotBuilder” 的 “PIDSubsystem” 的属性中或代码中的PID子系统的构造函数中找到它们。
F (feedforward) 项被在PID控制器中被用于控制其速度。
更多信息可以参考:”<docs/software/advanced-controls/controllers/pidcontroller:PID Control in WPILib>”