Creating your Benchtop Test Program (C++/Java)
Once everything is installed, we’re ready to create a robot program. WPILib comes with several templates for robot programs. Use of these templates is highly recommended for new users; however, advanced users are free to write their own robot code from scratch. This article walks through creating a project from one of the provided examples which has some code already written to drive a basic robot.
Creating a New WPILib Project
Bring up the Visual Studio Code command palette with Control+Shift+P:
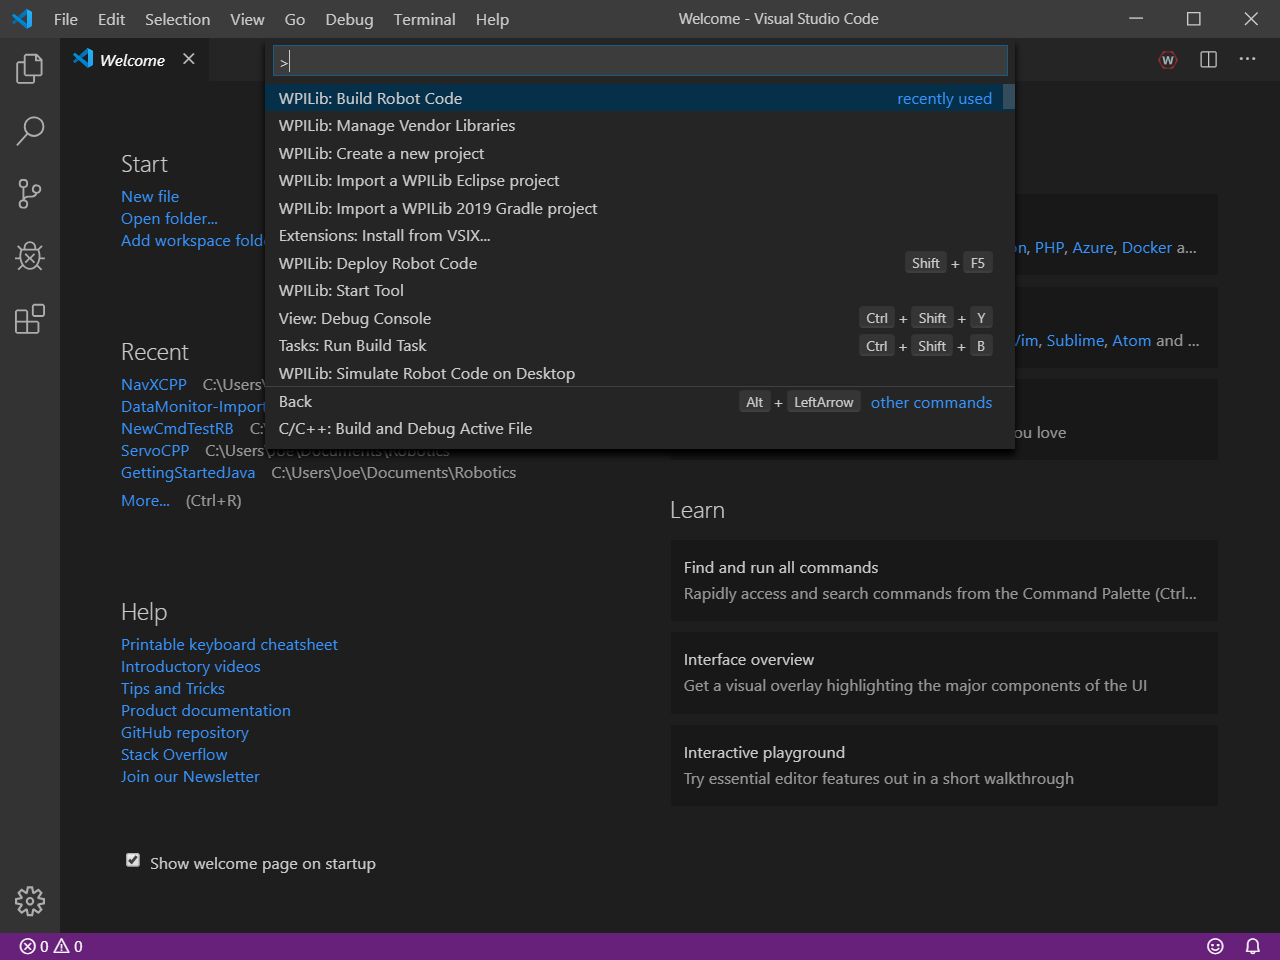
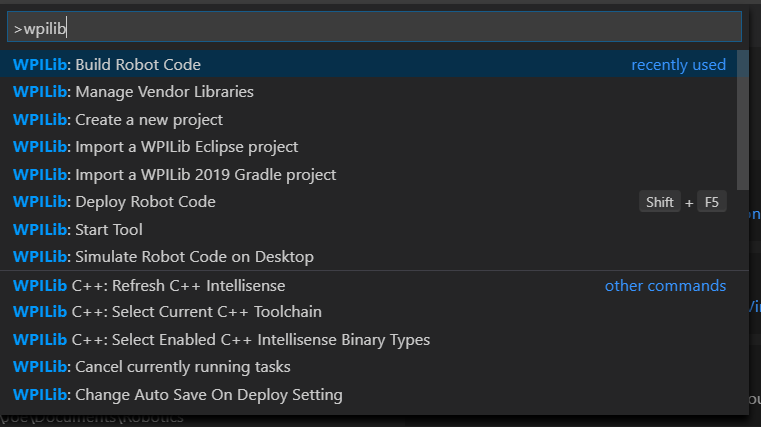
Then, type “WPILib” into the prompt. Since all WPILib commands start with “WPILib,” this will bring up the list of WPILib-specific VS Code commands:
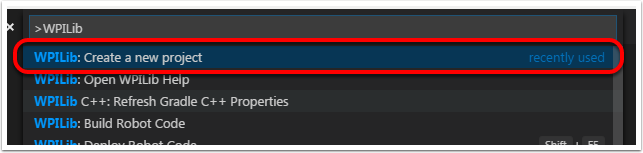
Now, select the “Create a new project” command:
This will bring up the “New Project Creator Window:”
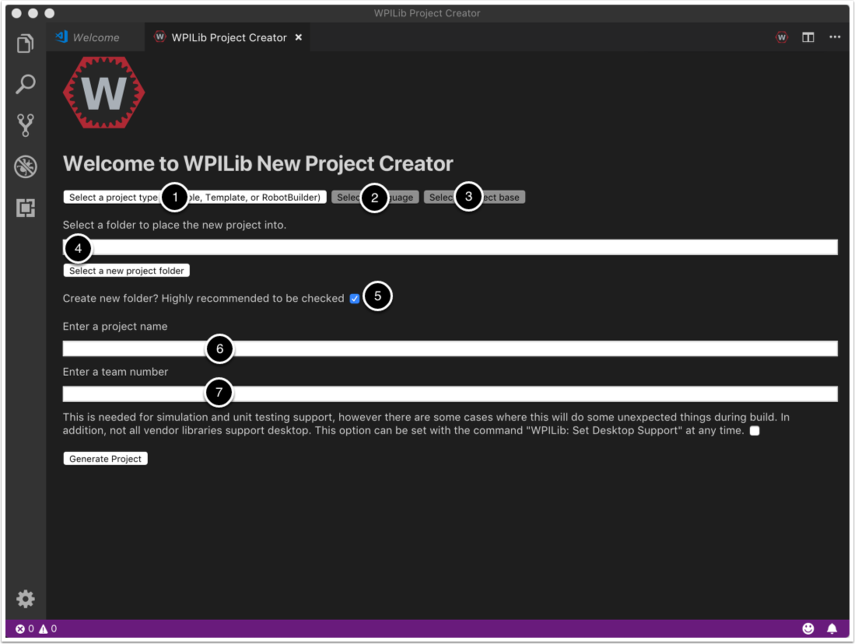
The elements of the New Project Creator Window are explained below:
Project Type: The kind of project we wish to create. For this example, select Example
Language: This is the language (C++ or Java) that will be used for this project.
Project Base: This box is used to select the base class or example to generate the project from. For this example, select Getting Started
Project Location: This determines the folder in which the robot project will be located.
Create New Folder: If this is checked, a new folder will be created to hold the project within the previously-specified folder. If it is not checked, the project will be located directly in the previously-specified folder. An error will be thrown if the folder is not empty and this is not checked.
Project Name: The name of the robot project. This also specifies the name that the project folder will be given if the Create New Folder box is checked.
Team Number: The team number for the project, which will be used for package names within the project and to locate the robot when deploying code.
Desktop Support: Enables unit test and simulation. While WPILib supports this, third party software libraries may not. If libraries do not support desktop, then your code may not compile or may crash. It should be left unchecked unless unit testing or simulation is needed and all libraries support it. For this example, do not check this box.
Once all the above have been configured, click “Generate Project” and the robot project will be created.
Note
Any errors in project generation will appear in the bottom right-hand corner of the screen.
Opening The New Project
After successfully creating your project, VS Code will give the option of opening the project as shown below. We can choose to do that now or later by typing Ctrl-K then Ctrl-O (or just Command+O on macOS) and select the folder where we saved our project.
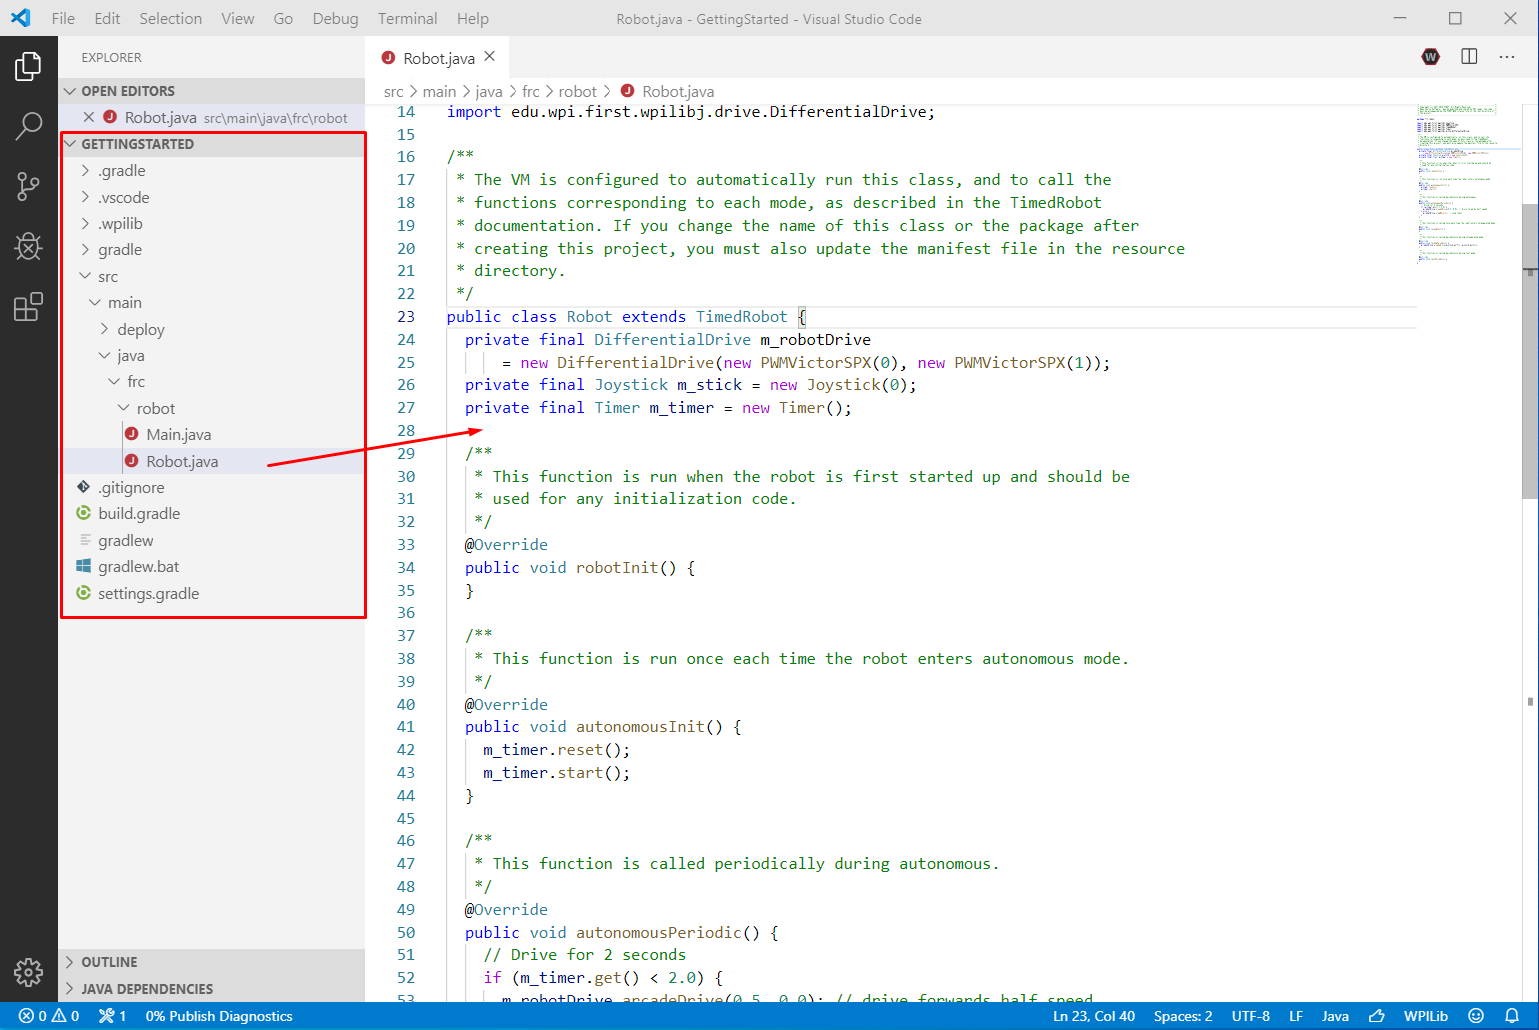
Once opened we will see the project hierarchy on the left. Double clicking on the file will open that file in the editor.
C++ Configurations (C++ Only)
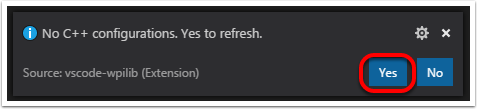
For C++ projects, there is one more step to set up IntelliSense. Whenever we open a project, we should get a pop-up in the bottom right corner asking to refresh C++ configurations. Click “Yes” to set up IntelliSense.
Imports/Includes
import edu.wpi.first.wpilibj.Joystick;
import edu.wpi.first.wpilibj.PWMVictorSPX;
import edu.wpi.first.wpilibj.TimedRobot;
import edu.wpi.first.wpilibj.Timer;
import edu.wpi.first.wpilibj.drive.DifferentialDrive;
#include <frc/Joystick.h>
#include <frc/PWMVictorSPX.h>
#include <frc/TimedRobot.h>
#include <frc/Timer.h>
#include <frc/drive/DifferentialDrive.h>
#include <frc/livewindow/LiveWindow.h>
Our code needs to reference the components of WPILib that are used. In C++ this is accomplished using #include statements; in Java it is done with import statements. The program references classes for Joystick (for driving), PWMVictorSPX (for controlling motors), TimedRobot (the base class used for the example), Timer (used for autonomous), DifferentialDrive (for connecting the joystick control to the motors), and LiveWindow (C++ only).
Defining the variables for our sample robot
public class Robot extends TimedRobot {
private final DifferentialDrive m_robotDrive = new DifferentialDrive(new PWMVictorSPX(0), new PWMVictorSPX(1));
private final Joystick m_stick = new Joystick(0);
private final Timer m_timer = new Timer();
class Robot : public frc::TimedRobot
{
public:
    Robot() {
        m_robotDrive.SetExpiration(0.1);
        m_timer.Start();
    }


private:
// Robot drive system
frc::PWMVictorSPX m_left{0};
frc::PWMVictorSPX m_right{1};
frc::DifferentialDrive m_robotDrive{m_left, m_right};
frc::Joystick m_stick{0};
frc::LiveWindow& m_lw = *frc::LiveWindow::GetInstance();
frc::Timer m_timer;
The sample robot in our examples will have a joystick on USB port 0 for arcade drive and two motors on PWM ports 0 and 1. Here we create objects of type DifferentialDrive (m_robotDrive), Joystick (m_stick) and time (m_timer). This section of the code does three things:
Defines the variables as members of our Robot class.
Initializes the variables.
Note
The variable initializations for C++ are in the private section at the bottom of the program. This means they are private to the class (Robot). The C++ code also sets the Motor Safety expiration to 0.1 seconds (the drive will shut off if we don’t give it a command every .1 seconds) and starts the Timer used for autonomous.
Robot Initialization
@Override
public void robotInit() {}
void RobotInit() {}
The RobotInit method is run when the robot program is starting up, but after the constructor. The RobotInit for our sample program gets a pointer to the LiveWindow instance (this is used in the test method discussed below). This method is omitted from the code, meaning the default version will be run (if we wanted to run something here we could provide the code above to override the default).
Simple Autonomous Example
@Override
public void autonomousInit() {
    m_timer.reset();
    m_timer.start();
}

@Override
public void autonomousPeriodic() {
    // Drive for 2 seconds
    if (m_timer.get() < 2.0) {
        m_robotDrive.arcadeDrive(0.5, 0.0); // drive forwards half speed
    } else {
        m_robotDrive.stopMotor(); // stop robot
    }
}
void AutonomousInit() override {
    m_timer.Reset();
    m_timer.Start();
}

void AutonomousPeriodic() override {
    // Drive for 2 seconds
    if (m_timer.Get() < 2.0) {
        // Drive forwards half speed
        m_robotDrive.ArcadeDrive(0.5, 0.0);
    } else {
        // Stop robot
        m_robotDrive.ArcadeDrive(0.0, 0.0);
    }
}
The AutonomousInit method is run once each time the robot transitions to autonomous from another mode. In this program, we reset the Timer and then start it in this method.
AutonomousPeriodic is run once every period while the robot is in autonomous mode. In the TimedRobot class the period is a fixed time, which defaults to 20ms. In this example, the periodic code checks if the timer is less than 2 seconds and if so, drives forward at half speed using the ArcadeDrive method of the DifferentialDrive class. If more than 2 seconds has elapsed, the code stops the robot drive.
Joystick Control for teleoperation
@Override
    public void teleopInit() {
}

@Override
    public void teleopPeriodic() {
    m_robotDrive.arcadeDrive(m_stick.getY(), m_stick.getX());
}
void TeleopInit() override {}
void TeleopPeriodic() override {
    // Drive with arcade style (use right stick)
    m_robotDrive.ArcadeDrive(m_stick.GetY(), m_stick.GetX());
}
Like in Autonomous, the Teleop mode has a TeleopInit and TeleopPeriodic function. In this example we don’t have anything to do in TeleopInit, it is provided for illustration purposes only. In TeleopPeriodic, the code uses the ArcadeDrive method to map the Y-axis of the Joystick to forward/back motion of the drive motors and the X-axis to turning motion.
Test Mode
@Override
public void testPeriodic() {}
void TestPeriodic() override {}
Test Mode is used for testing robot functionality. Similar to TeleopInit, the TestPeriodic is provided here for example.